

Every archer knows that an arrow will not fly effectively without your fletching on the shaft. Not only do they add an aesthetic aspect to your arrow, they also can affect how your arrow flies and how your arrow stabilizes itself when it is zipping down-range at your selected target. Most people will get new arrows with the vanes already attached, or they will pay a pro shop to glue them on for them. Truth be told fletching your own arrows might be easier than you think not only for yourself, but also easier on your wallet! In this article we will go over the ins and outs of DIY arrow fletching at home. Please note that this is written to be informative for those with no experience with self-fletching. Yes, the topic can go into way more depth, and I will be covering that in a later article!
Selecting Your Fletching
Vanes for your arrows can come in all different sizes, materials, shapes, colors, etc. While that may be overwhelming at first, once you have the arrow shaft selected for your style and goals of shooting, you can discover the perfect fletching for you. I personally shoot Goldtip Hunter XT arrows with a spine of 340. These give me the penetration I want, while not giving up the velocity that I prefer. My go-to vane of choice is the AAE MAX 23 produced by Arizona Archery Enterprises Inc. This vane is 2.3" long, and flies like a dream. I was first introduced to these vanes as a giveaway for the Total Archery Challenge in Terry Peak, SD. Some people may argue that a vane over 2" is not well suited for outdoor shooting, but I have personally not had a problem with the 2.3" vanes. These have a lower profile and can cut through the intense prairie wind of South Dakota with ease.
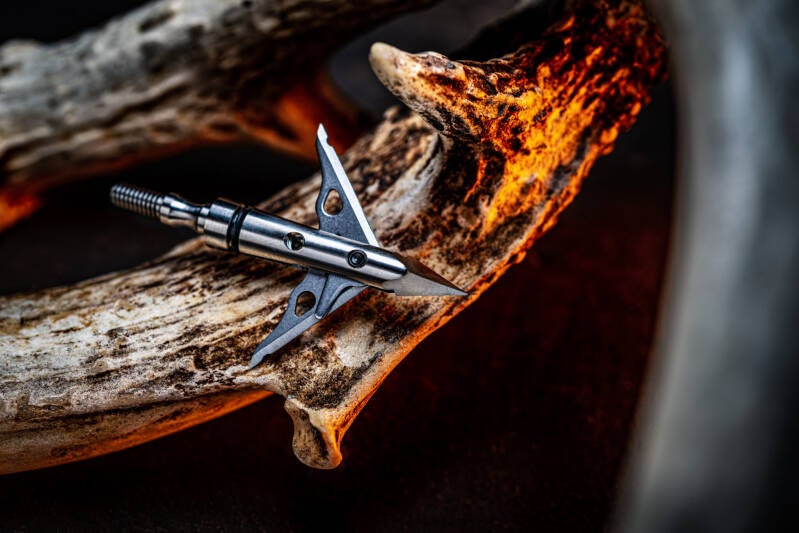
Typically, archers who shoot compound bows will have their fletching ranging from 1.75" to 2" which gives you a variety to choose from in terms of vane styles and builds. I know a lot of hunters who will shoot a blazer style vane on their arrows. These are shorter in length but higher in profile which allows the arrow to catch drag from the wind and stabilize itself, especially when shooting fixed blade broadheads. I like the Max 23's better because they cut through the wind with no problem and stabilize a fixed blade broadhead quickly even on a windy day. Whatever style or size of vane you choose is all based on personal preference, your arrow set up, broadhead type, and style of shooting. I prefer to shoot the SEVR Titanium 1.5" broadheads. These fly just like a field tip, and have a gnarly cutting ability and superior penetration upon impact on game. Enough rambling about my setup, let's get to the meat and potatoes you came here for on how to fletch your own arrows at home.

Step One
First things first is you will need a fletching jig to properly attach your vanes to your arrows. Some people may be able to do it without one, but I doubt the final product would be as professional without. I am a budget-friendly type of guy, so I use the Bohning Archery Pro Class Jig with a Right Clamp. It may not be as fancy as other options on the market, but it gets the job done. This jig is durably made, easy to use, and what I like most is the ability to get up to a two-degree right helical on my arrows.

Step Two
Now that you have your arrows of choice, vanes, and jig all in your possession, you will want to determine how you want your vanes to be orientated on your arrow. The three forms of fletching on arrows are straight, offset, and helical.
A straight fletched arrow means that the vane is in line with the shaft. This allows for the fastest arrow, and since it does not spin, it is best for close range shots. A downside for a straight vaned arrow is that it will catch wind, especially with longer shots.
The offset fletched arrow means that the vane starts out straight on the arrow shaft and then turns outward on the end of the fletching. This type of orientation makes the arrow react similar to the rifling of a gun. The arrow is able to slightly spin creating stabilization in flight, especially with a broadhead. This increased stabilization is more well-suited for longer shots. The downside of the offset fletching is that it has wind resistance which in turn lowers the speed of the arrow.
The final orientation of fletching, and what I personally shoot, is the helical. The helical fletching means the whole fletching on the arrow is curved. This orientation gives you the similar rotation coming from rifling as the offset. What I like most about the helical is that it provides the best stabilization for broadheads, gives the best accuracy at long range due to the spin it creates, and it is the least effected from the wind. The only downside is that it gives you the greatest loss of arrow speed out of the three. As with everything else relating to archery and what you have read so far, it will come down to what works best for you and how the arrow flies upon release from your bow.
Step Three
What you have been waiting for is finally here! Now we will start attaching our vanes to our arrow shafts. The "proper" distance between your vanes is a 120-degree angle. Most if not all fletching jigs will automatically set the perfect distance between fletching. In this blog posting I will be talking about how my jig works, but overall, it is the same process across the board. Before we start attaching our vanes, we want to ensure that our arrow shaft is clean and free from debris, dust, anthrax, the plague, etc. To clean mine I simply take an alcohol wipe and thoroughly wipe where I will want my vanes mounted. I use an alcohol wipe due to its ability to clean and evaporate fast. Now that this is done you will place your arrow in the jig. On mine there are three options for my vane orientation. I set mine at 3U meaning there will be three vanes on my arrow with my cock feather pointing up. The other two options are for four vanes, and one for your cock vane in the down position. Once your arrow is rested in the position you want you can go ahead and place your first vane in the clamp, positioned at the distance from the knock of your choice. Once you have achieved this, put a good bead of adhesive along the bottom of the vane, and then set your clamp so that it makes contact with the arrow shaft. I usually hold mine in this position for 30 seconds before I move to the next vane. For adhesive I prefer to use Bohning Archery's Fletch-Tight Premium Adhesive. Repeat this process for all of your vanes until you are complete with that shaft. I set my arrows in a position with the knock in the air, so they do not come into contact with anything as they are drying. Throw on a good podcast, such as Meat Eater, and before you know it you will be done with a dozen in no time!
Step Four
Since all of our arrows are complete now with the fletching on them, I like to give them 48 hours with no contact to allow the adhesive to fully set. I simply use a cardboard box with holes in it to allow the arrows to sit firmly with the knocks in the air. Once they are all set you can finally get out and shoot them! This process is one of trial and error finding which orientation of vanes works for you, but once you figure it all out you will be satisfied in your final product, and in your ability to do this on your own from the comforts of your humble abode!
Below are the steps in pictures utilizing the process above. I thank you for taking the time to read my article, and I wish you the best of luck with your arrow fletching journey!
Add comment
Comments